The Simple Things You Need To Start Your Cricut Sign and Stencil Making Journey
It's easy to get overwhelmed by all the materials you might need but I'm sharing my tried and true few with you today!
Let me help you save lots of money, time and frustration when you are starting your Cricut stencil and sign making journey.
Many times, I find that people aren't sure where to start with materials or they've purchased what SHOULD be the right material combinations but they just DO NOT work the way they were intended to.
It's not your fault. There are just too many choices!😫 Luckily, less is more and you only need a handful of things to get going right away with beautiful results.
🤔You might think it's something you're doing wrong but the truth is that it's likely the wrong materials or combo of them that you are using. Check out the video above to get super clear on what you need and what you don't.
Trust me...I've taught thousands of crafty people how to do this and they are always amazed what a difference the RIGHT materials make.
Also, I thought you ...
4 Reasons Your Stenciled Sign Didn't Turn Out How You Hoped
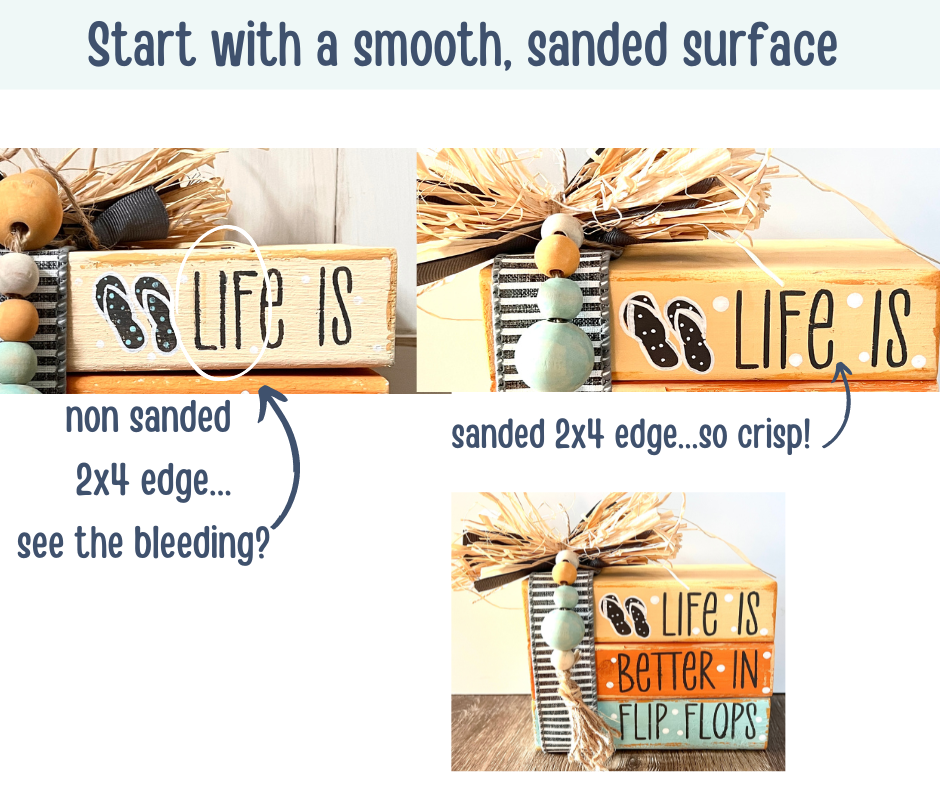
Are you trying to create beautiful signs with your Cricut but keep getting bleeding under your stencils? You are not alone! There’s nothing more frustrating than working really hard on a sign project using vinyl, stencil vinyl, or mylar, and then getting finished and seeing that you have lots of bleeding and touch ups to do. Today I’m sharing the four main reasons that you’re getting bleeding under your stencils and what you can do to prevent it!
- The surface is too bumpy.
If you are just starting out with sign making and want to be successful right out of the gate, it’s really important that you start with a piece of wood that is pretty smooth in general. If you do find yourself creating a sign on a slightly bumpy surface, keep reading to learn how you can still avoid the bleeding.

- You’re using the wrong type of vinyl.
A common mistake beginners make is choosing Cricut stencil vinyl because they think, “I have a Cricut, and I want to make a stencil.” Makes sense right...
